Brookies
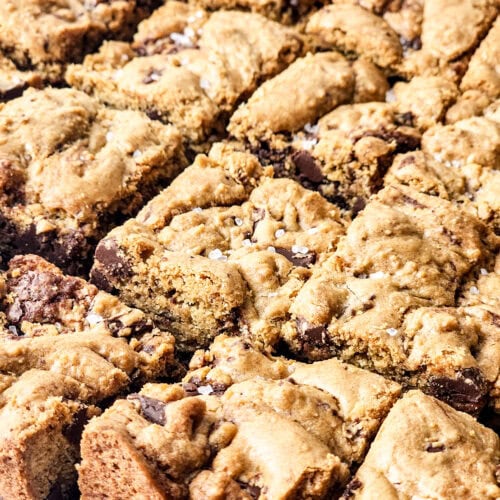
A delightful fusion of fudgy brownies and chewy chocolate chip cookies, swirled together for the ultimate indulgence. Perfectly sweet, slightly salty, and irresistibly satisfying in every bite!
Print Recipe
Ingredients
For Brownie Batter
- 1 cup semisweet chocolate chips
- 1 stick unsalted butter, melted
- ¼ cup cocoa powder
- 1 cup granulated sugar
- 2 eggs
- 1 teaspoon vanilla extract
- ⅔ cup all-purpose flour
- ½ teaspoon salt
Chocolate Chip Batter
- 1 stick unsalted butter, browned
- ½ cup dark brown sugar
- ½ cup granulated sugar
- 2 eggs
- ½ teaspoon vanilla extract
- 1 ⅓ cup all-purpose flour
- ½ teaspoon baking soda
- ¼ teaspoon baking powder
- ½ teaspoon salt
- ¾ cup semisweet chocolate chunks
- Coarse Salt (for topping)
Instructions
- Start with the Brownie Batter: Melt the butter in a saucepan and pour it over the chocolate chips in a mixing bowl. Stir until smooth.
- Add the cocoa powder, sugar, eggs, and vanilla. Mix well until the batter is glossy and thick.
- Fold in the flour and salt until smooth. Set this heavenly batter aside.
- Move on to the Cookie Dough: Begin by browning your butter until it’s golden and smells nutty—this step elevates the flavor.
- Mix the browned butter with the sugars and vanilla extract until creamy, then put the egg.
- Fold in the flour, baking soda, baking powder, and salt. Once the dough starts to come together, stir in the chocolate chunks.
- Assemble the Brookies: Preheat your oven to 350°F. Line your baking dish with parchment paper for easy cleanup.
- Pour the brownie batter into the dish and spread it evenly.
- Drop spoonfuls of cookie dough on top, letting them mingle naturally. Use a knife to gently swirl the two batters together for a marbled masterpiece.
- Bake for 25-30 minutes, or until a toothpick inserted into the center comes out clean.
- Sprinkle coarse salt on top as soon as they come out of the oven. This step is key to balancing the sweetness with a hint of savory.
- Let them cool completely before slicing. (I know, patience is hard, but it’s worth it!)