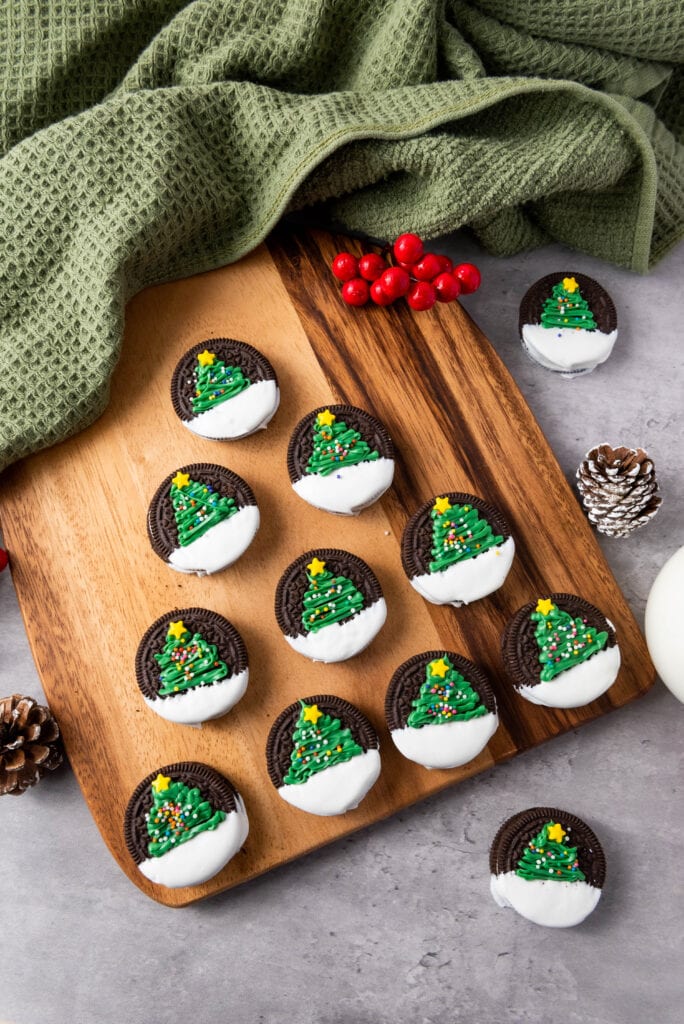
Christmas Tree Oreos for a Sweet Holiday

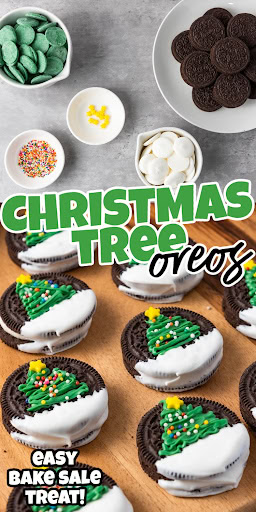
Who doesn’t love Oreos? They’re already a crowd-pleaser, but when you give them a festive twist, like turning them into adorable Christmas tree cookies, they become the star of your holiday treat lineup! And the best part? These Christmas Tree Oreos are super easy to make, require no baking, and take just 30 minutes from start to finish.

So, whether you need a quick dessert for your holiday party or just want to add some festive flair to snack time, these little treats will definitely bring the holiday cheer.
How to Make Christmas Oreos
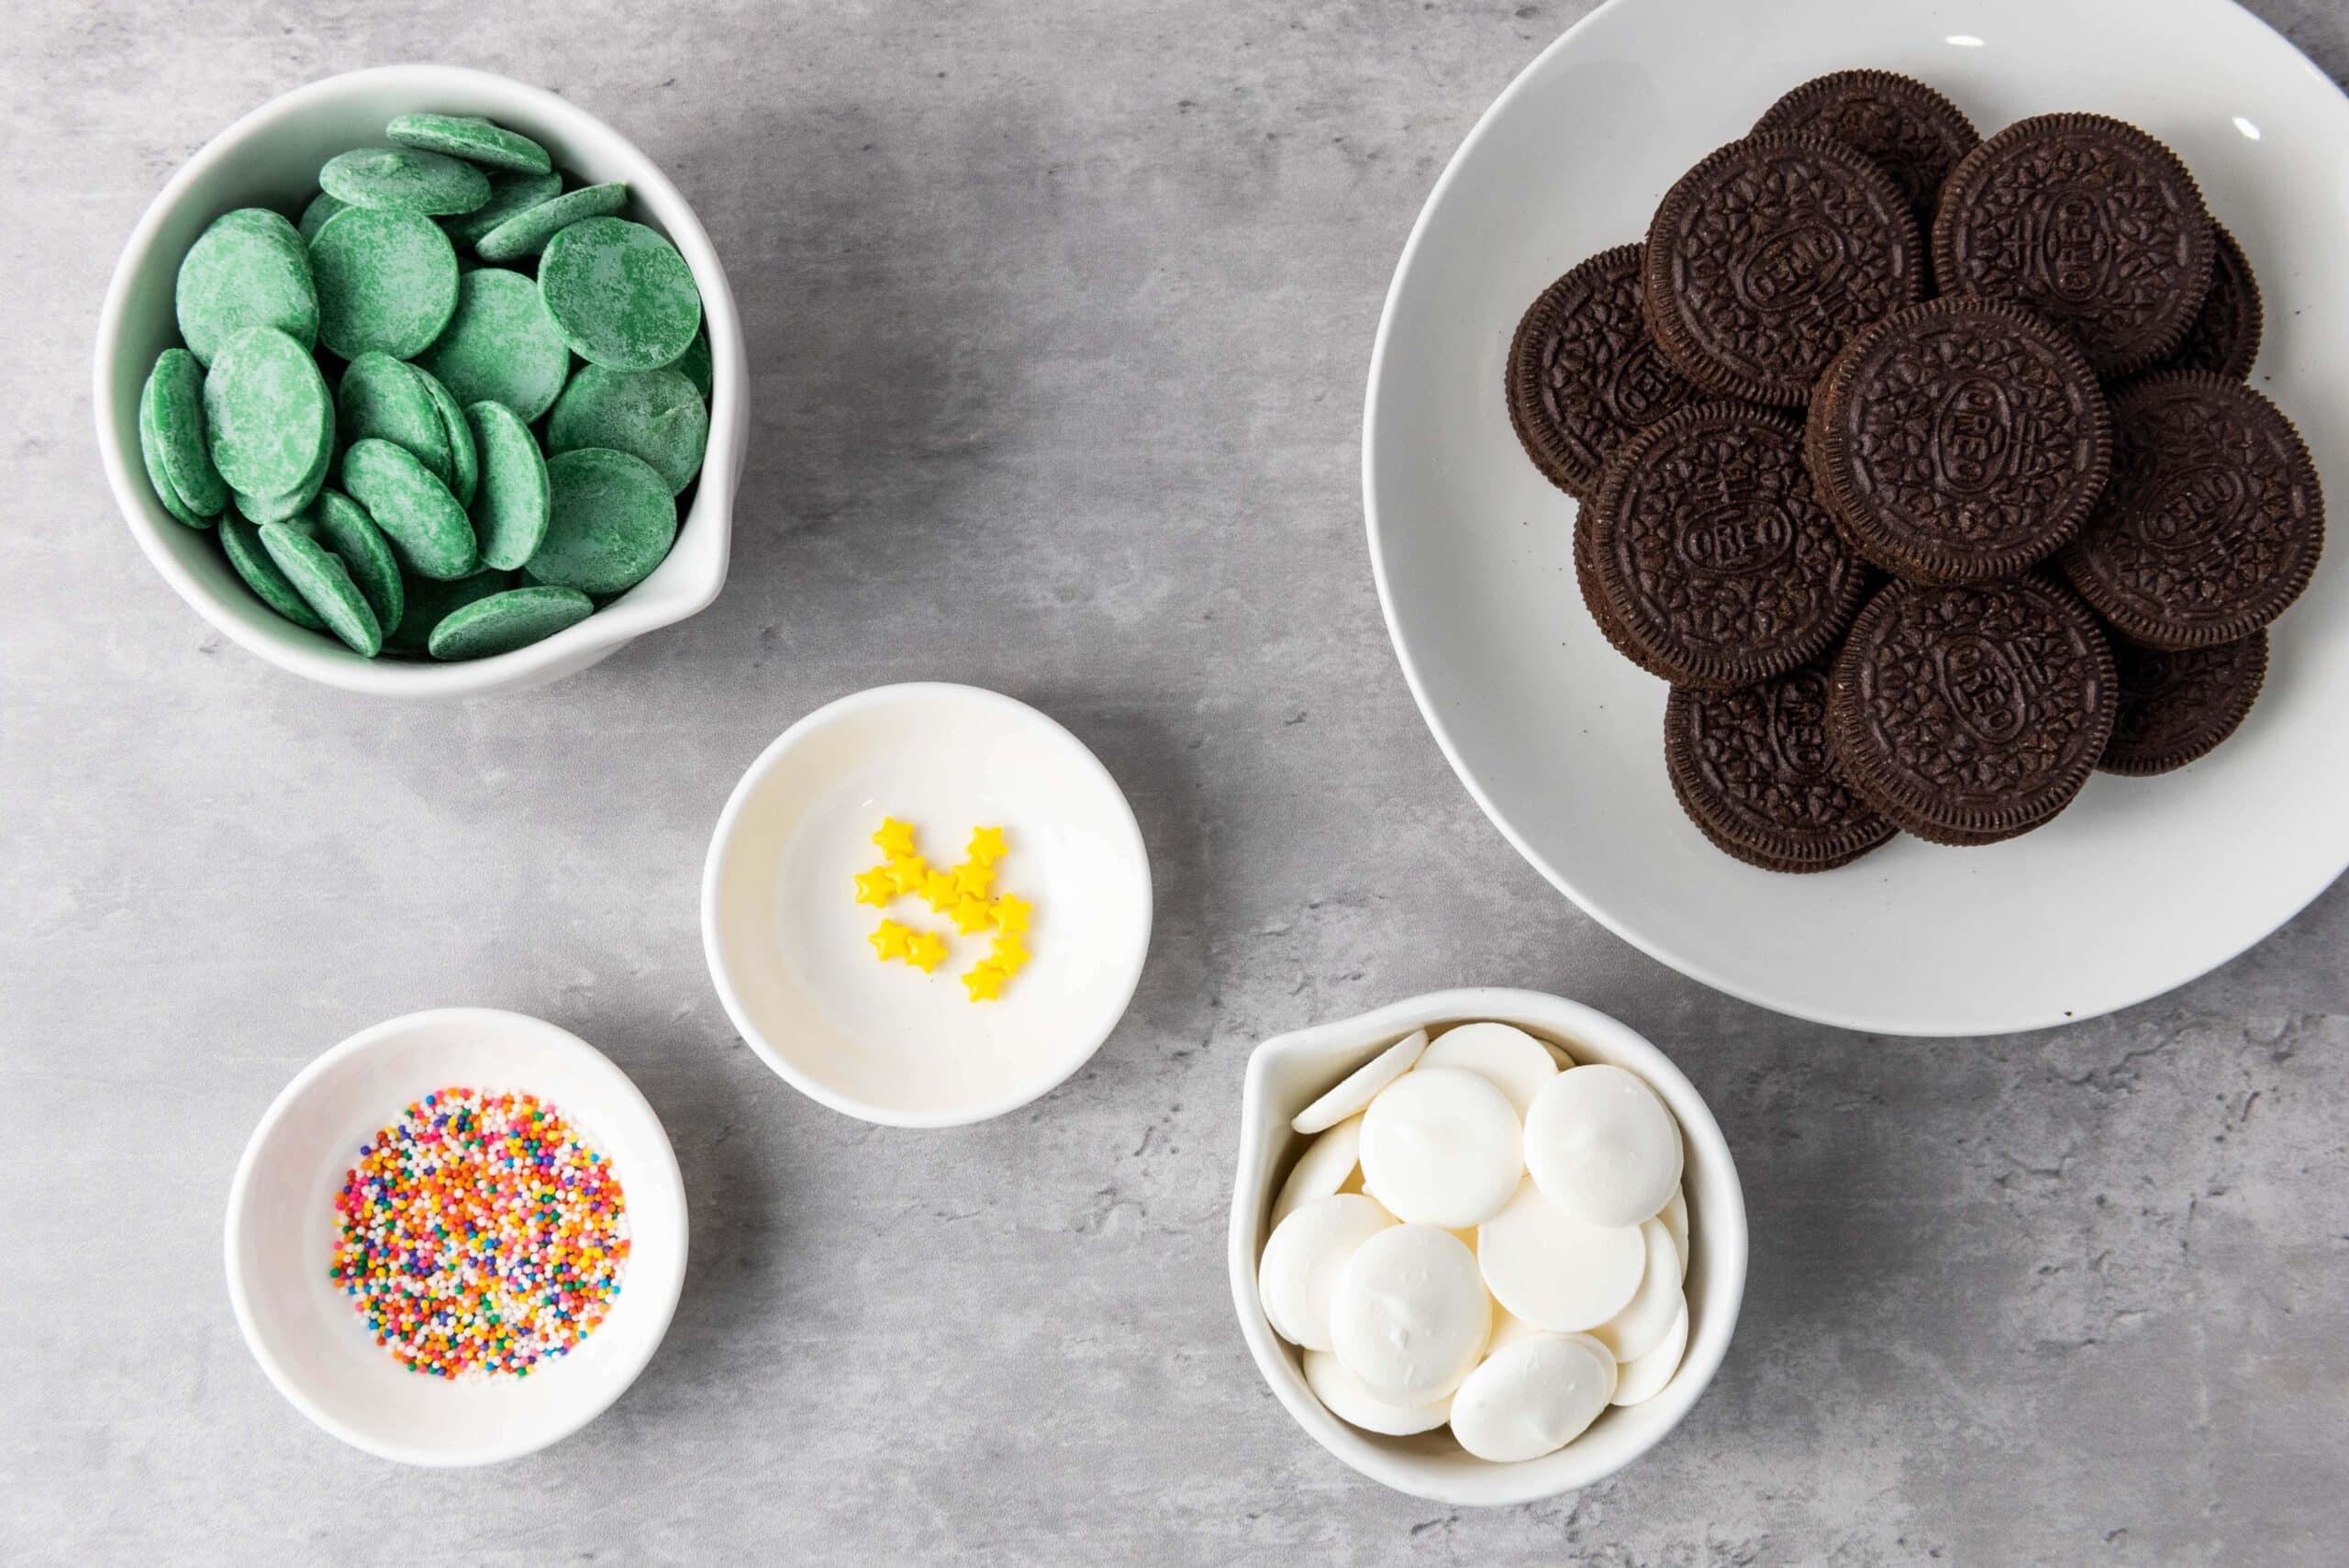
Ingredients you’ll need for this recipe
Step by Step Guide
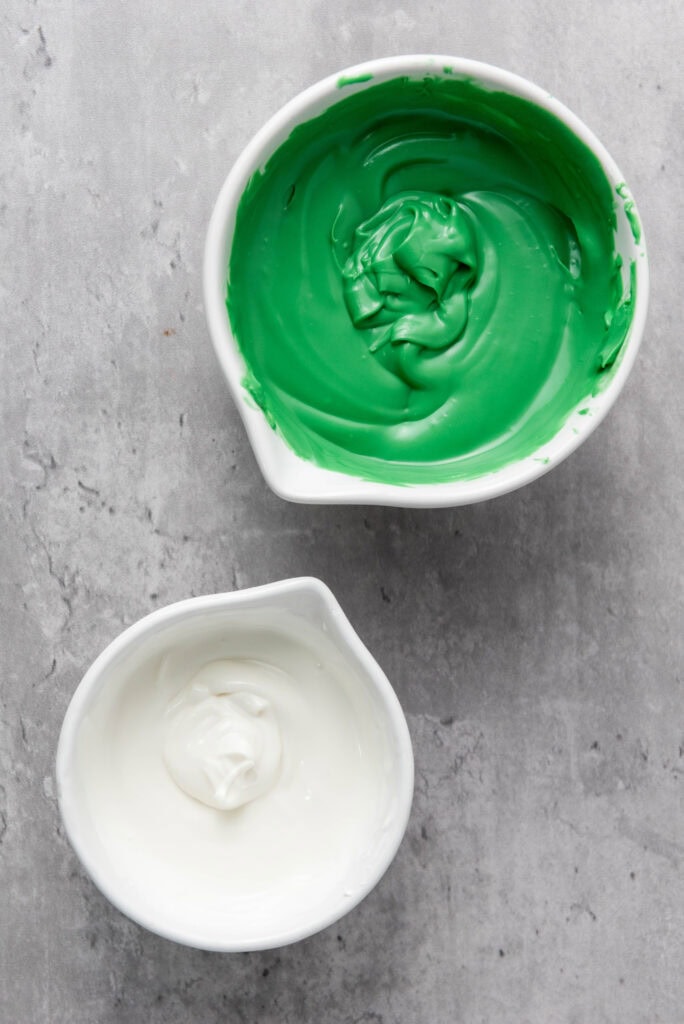
1. First, grab your white and green candy melts. Follow the package instructions and melt the white ones until they’re smooth and creamy in one bowl, then do the same with the green melts in another bowl. You’re about to get creative!
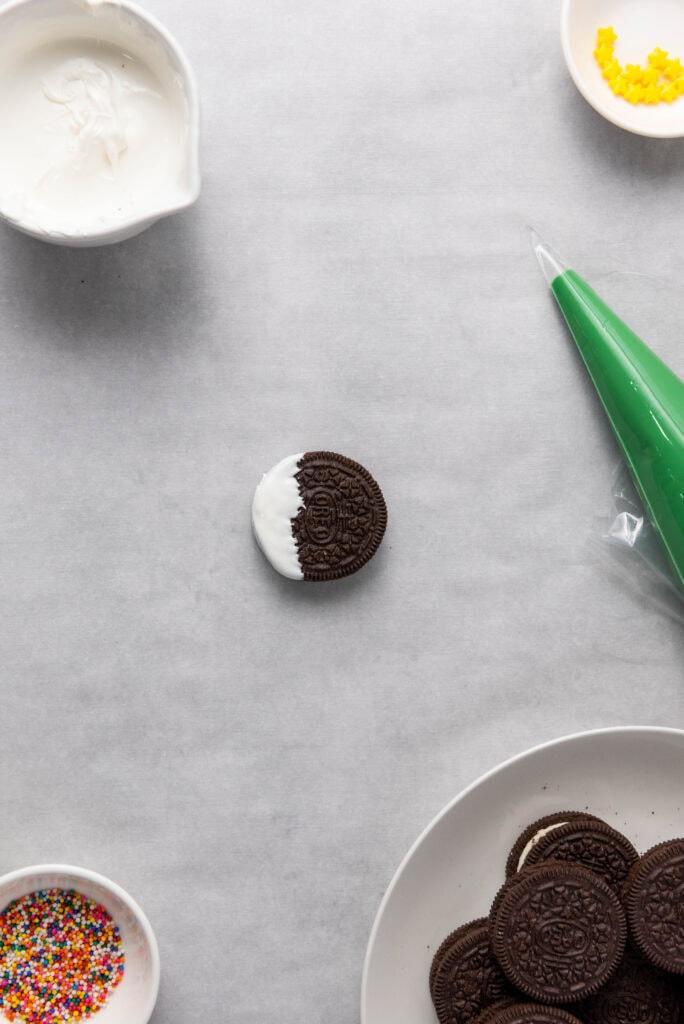
2. Next, it’s time to give your Oreos a “snowy” look. Dip just the bottoms of each Oreo into the white candy melts, coating them nicely. Don’t forget to gently tap the fork on the edge of the bowl to shake off any excess. Place them on a baking sheet or plate. Trust me, the white bottom makes these cookies look even more like a winter wonderland!
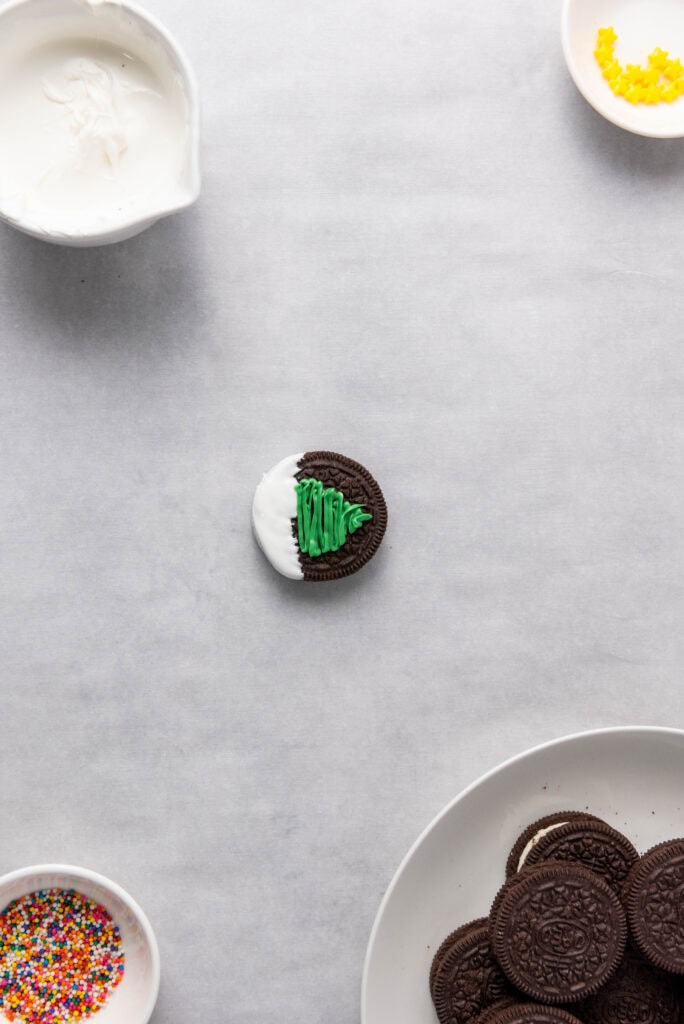
3. Now comes the fun part—creating your trees! Pour the melted green candy melts into a piping bag (or a ziplock bag with the corner snipped off works too!). Drizzle the green candy over each Oreo in a zigzag pattern to form the shape of a Christmas tree. Don’t worry about perfection; every tree has its own charm!
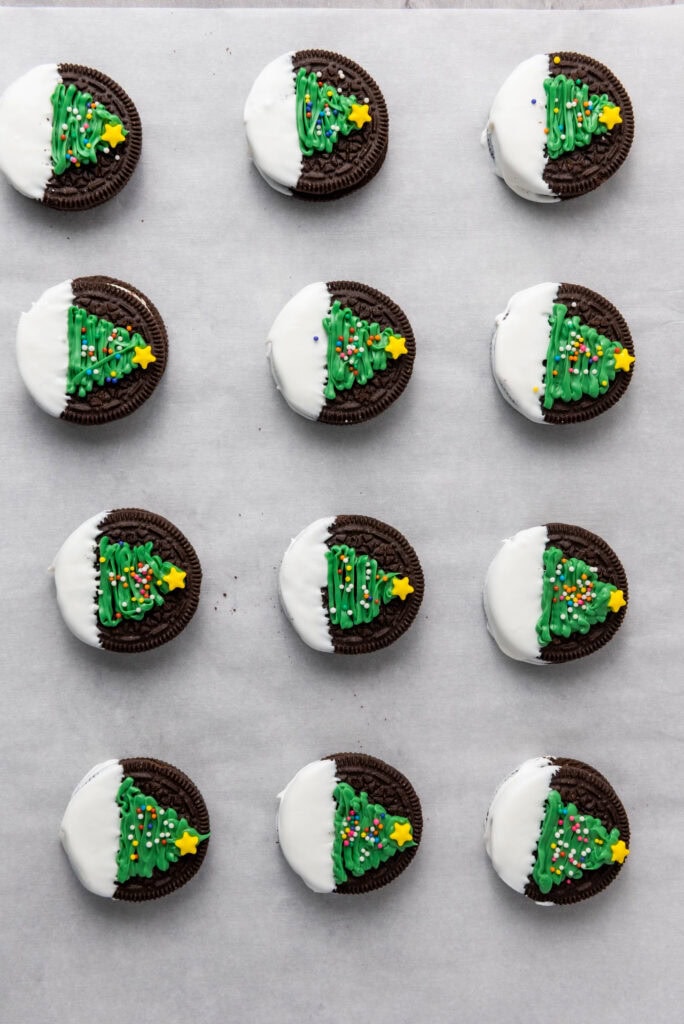
4. While the green candy is still soft, place a tiny star sprinkle on the top of each tree. Then, grab your nonpareils and sprinkle them over the trees to give them that perfect “decorated” look. It’s like adding ornaments without the hassle of tangled lights!

5. All that’s left is to let your Christmas Tree Oreos set. Pop them into the refrigerator for about 10 minutes to speed things up, and voilà—they’re ready to enjoy! Once they’re firm, carefully lift them off the plate, and you’ve got yourself a batch of holiday magic.
If you somehow manage not to eat them all in one sitting (no judgment if you do!), you can store these cute cookies in an airtight container at room temperature for up to a week. Perfect for gifting, or just for snacking throughout the holiday season!
And there you have it! These Christmas Tree Oreos are perfect for kids to help decorate, making it a fun activity for the whole family. You can also get creative with your decorations—swap the star sprinkles for mini M&M’s or add edible glitter to really make your trees sparkle. The possibilities are endless, and they’ll always taste as festive as they look.
So, go ahead and whip up a batch of these Christmas Tree Oreos for your next holiday gathering. With only 30 minutes of effort, you’ll have a treat that looks like it came from a bakery, but with all the love (and simplicity!) of a homemade dessert. Happy holidays, and enjoy every bite!
Christmas Tree Oreos

Ingredients
- 12 Oreo cookies
- 1 cup green candy melts
- ½ cup white candy melts
- 12 star sprinkles
- 1 tsp nonpareils sprinkles
Instructions
- First, grab your white and green candy melts. Follow the package instructions and melt the white ones until they’re smooth and creamy in one bowl, then do the same with the green melts in another bowl. You’re about to get creative!
- Next, it’s time to give your Oreos a “snowy” look. Dip just the bottoms of each Oreo into the white candy melts, coating them nicely. Don’t forget to gently tap the fork on the edge of the bowl to shake off any excess. Place them on a baking sheet or plate. Trust me, the white bottom makes these cookies look even more like a winter wonderland!
- Now comes the fun part—creating your trees! Pour the melted green candy melts into a piping bag (or a ziplock bag with the corner snipped off works too!). Drizzle the green candy over each Oreo in a zigzag pattern to form the shape of a Christmas tree. Don’t worry about perfection; every tree has its own charm!
- While the green candy is still soft, place a tiny star sprinkle on the top of each tree. Then, grab your nonpareils and sprinkle them over the trees to give them that perfect “decorated” look. It’s like adding ornaments without the hassle of tangled lights!
- All that’s left is to let your Christmas Tree Oreos set. Pop them into the refrigerator for about 10 minutes to speed things up, and voilà—they’re ready to enjoy! Once they’re firm, carefully lift them off the plate, and you’ve got yourself a batch of holiday magic.
Check Out More Christmas-Themed Recipe Ideas!
Christmas Edible Chocolate Pine Cones
Ho Ho Ho! Make These Adorable Santa Oreos!
Merry Munchies: Christmas Rolo Pretzel Bites